Summary:
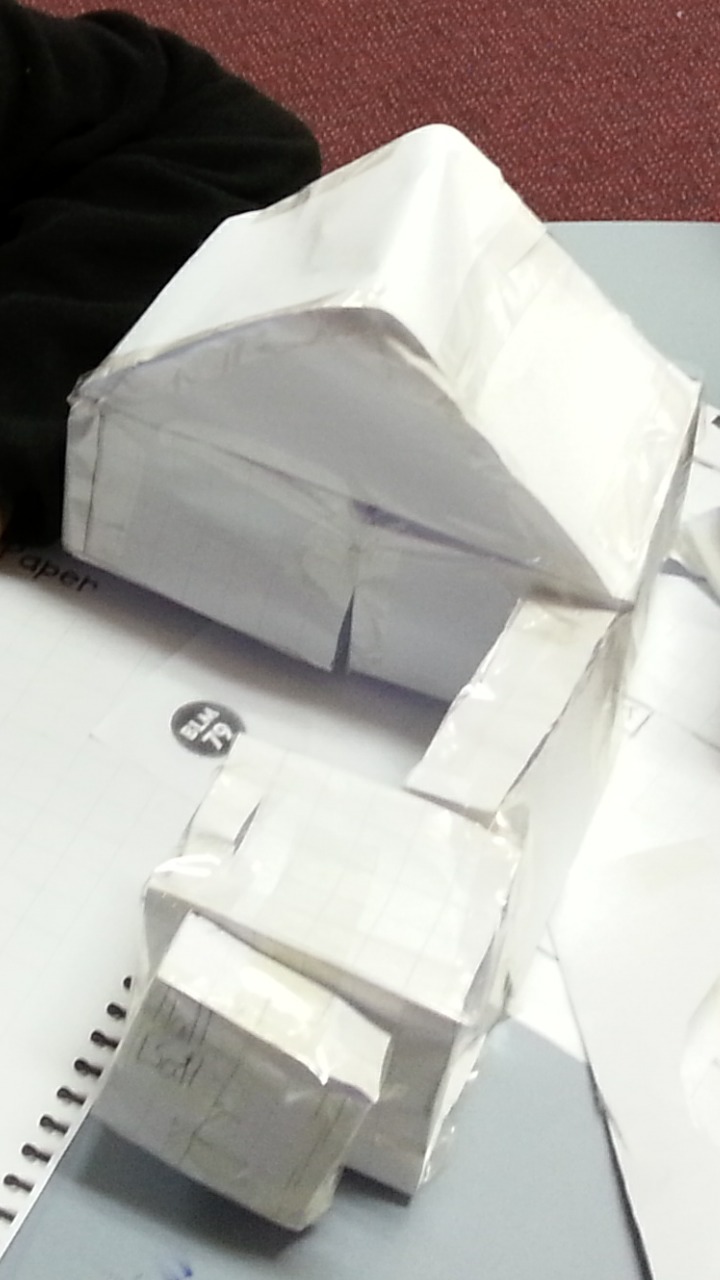
In this lesson, children use a 2D floor plan to create their modern house. They then create 3D shapes to build the house and can explore various nets that make cubes, rectangular prisms, pyramids and other 3D shapes. From there, they calculate surface area (to paint of course) using the LxW formula for area and can lead onto volume by using the cubic centimetre and the LxWxD formula.
Australian Curriculum Links:
Mathematics:
- Year 5 – Connect three-dimensional objects with their nets and other two-dimensional representations(ACMMG111)
- Year 5 – Calculate the perimeter and area of rectangles using familiar metric units (ACMMG109)
- Year 6 – Connect volume and capacity and their units of measurement (ACMMG138)
- Year 6 – Construct simple prisms and pyramids(ACMMG140)
- Year 7 – Calculate volumes of rectangular prisms(ACMMG160)
- Year 7 – Establish the formulas for areas of rectangles, triangles and parallelograms and use these in problem solving (ACMMG159)
Lesson Outline:
Please note that this lesson can run over 1-5 lessons (depending on how far you are willing to go with the task)
Introduction:
After your introduction to 2D and 3D shapes (revision usually at these levels), ask children to think of jobs that include creating 3D shapes in the real world. They should be able to come up with a list, but if they don’t, here are a few to get you started.
- Packaging Designers (wrappers, boxes, etc)
- Architecture
- Sculptors
Explain to children that today they are going to jump into the shoes of an architect and create their modern dream home (using nets and 2D shapes (Learning Intention), but before we get started we need to set a bit of a success criteria to work towards.
Discuss with children and sway their success criteria to include:
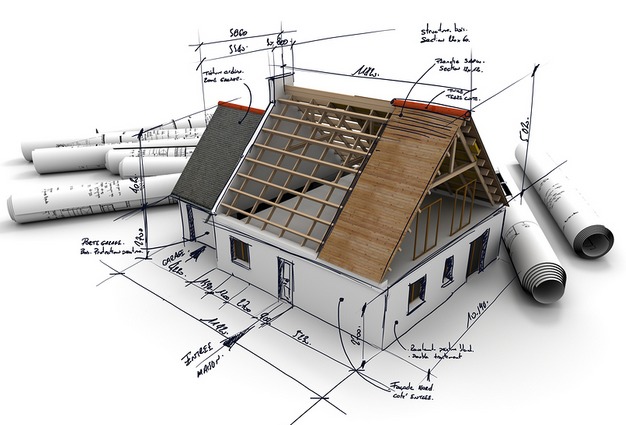
- A 2D floor plan (Bird’s eye view) on grid paper
- The use of a range of nets to create our 3D shapes (rectangular prisms, pyramids and cubes)
- Correct use of instruments (rulers, etc)
Body:
- Model how to create a floor plan with children at a table and allow for discussion on points of view (bird’s eye) and what parts of the house should be included (kitchen, bedrooms, etc).
- Model how to create a 3D shape from grid paper by making a net. Discuss if there is more than one possibility to make a cube, rectangular prism, etc.
- When children are comfortable enough, allow them to head back to their spots (with or without a partner) and start to create their floor plan.
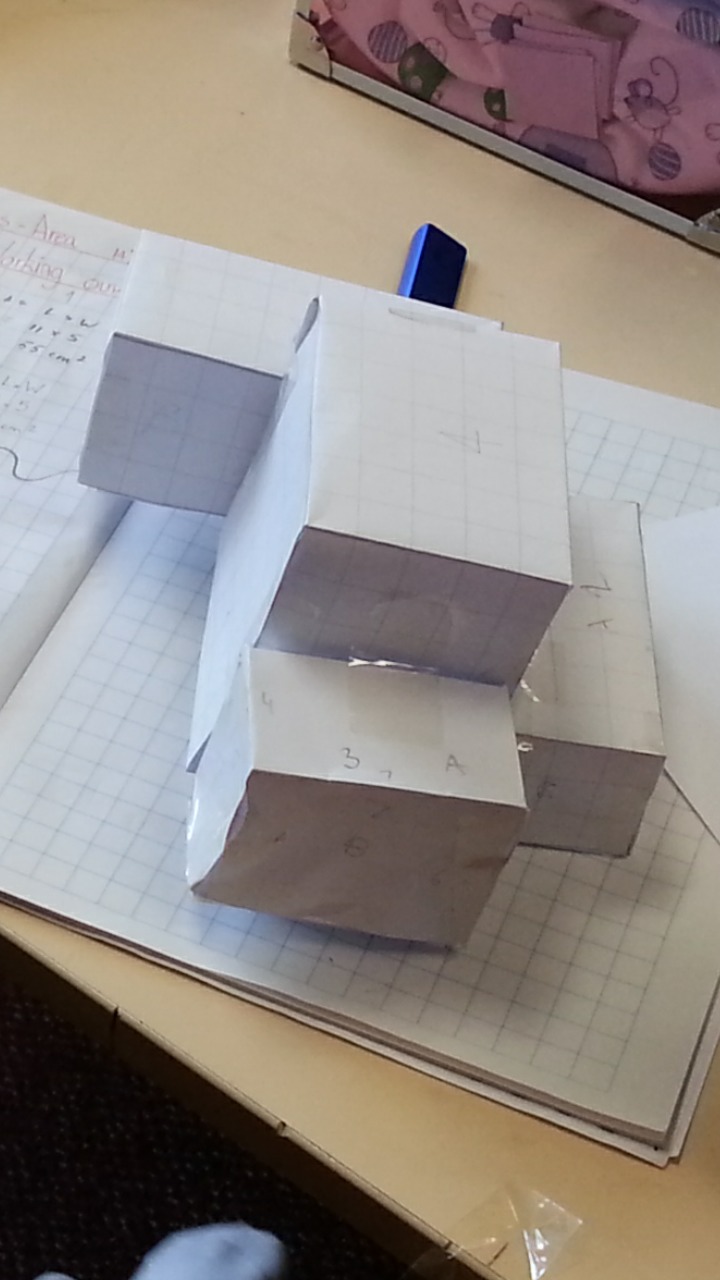
- Once the children have finished creating the floor plan they can start to investigate creating 3D shapes by drawing their nets on grid paper, cutting them out and then sticking them together.
- Roam the room and work with extending your more able students by asking them to create pyramids and triangular prisms, while also pushing the rest of your class to create prisms and cubes.
Once the children have created their 3D model, they can now extend into the following (be sure to workshop at each stage):
- Surface Area (Explain to the children that you need to paint all of the external surfaces that can be seen and as a painter you need to know the area). Explicitly teach the L x W formula.
- Volume (using the house, calculate the volume of all 3D shapes by using various formulas such as L x W x D for cubes and rectangular prisms). You can also extend your children to find the volume of cylinders, prisms and triangular prisms. ( I always like to think of a triangle as half of a square/rectangle ).
Conclusion:
- Ask children to keep a reflective journal as they work throughout the lessons and share learning experiences at the end of each session.
Assessment:
- Photograph work
- Complete a reflective journal
- Create a 3 minute talk on the creation of their house and the learning involved.
Resources:
- 2D and 3D Shape Revision Interactive LINK
- Modern Architecture Samples LINK
- Grid Paper DOC
- Volume and Area Formulas PDF